“Perfection is achieved, not when there is nothing more to add, but when there is nothing left to take away.” ~Antoine de Saint-Exupéry, Airman’s Odyssey
I remember being in school for Digital Design and taking a class with a focus on magazine layouts. The article I did was about lobster and how you could use it in an italian recipe.
To me the design looked very elementary, so I kept adding to the design with clearly no direction.
Finally after getting feedback from my peers and professor, I finally was ready to go back and incorporate the feedback into the design. When I delivered the final rough draft I not only made the changes suggested, but also a little extra to make it pop!
But when I got my critique back from my professor, he said with a million exclamations, “It was so perfect before, now you messed it up by adding this extra stuff!!” That’s when I learned Less is Best!
Here are 4 Steps to simplify design
A know a lot of great designers are perfectionists, and I struggled with this for years myself. We think about all the things we can add to make it better. Or we go on and on with adding and subtracting until it looks nothing like our concept. It is a slippery slope to “never getting it done”.
We can’t merely tell the client, “Yes I was supposed to get it to you last week but I know I can make it better. Give me a few more days”. Well…this just will not fly!
So how do you get out of the rut of adding too much but creating just enough?
Let me tell you what worked for me.
1. Sketch a concept
Now I’m not the best sketch artist but I do well enough to know what direction to take the project in. This really helps you visualize different options and clarify what you’ll need in the design, giving you an idea of how much space you’ll need for each.
2. Dont forget negative space
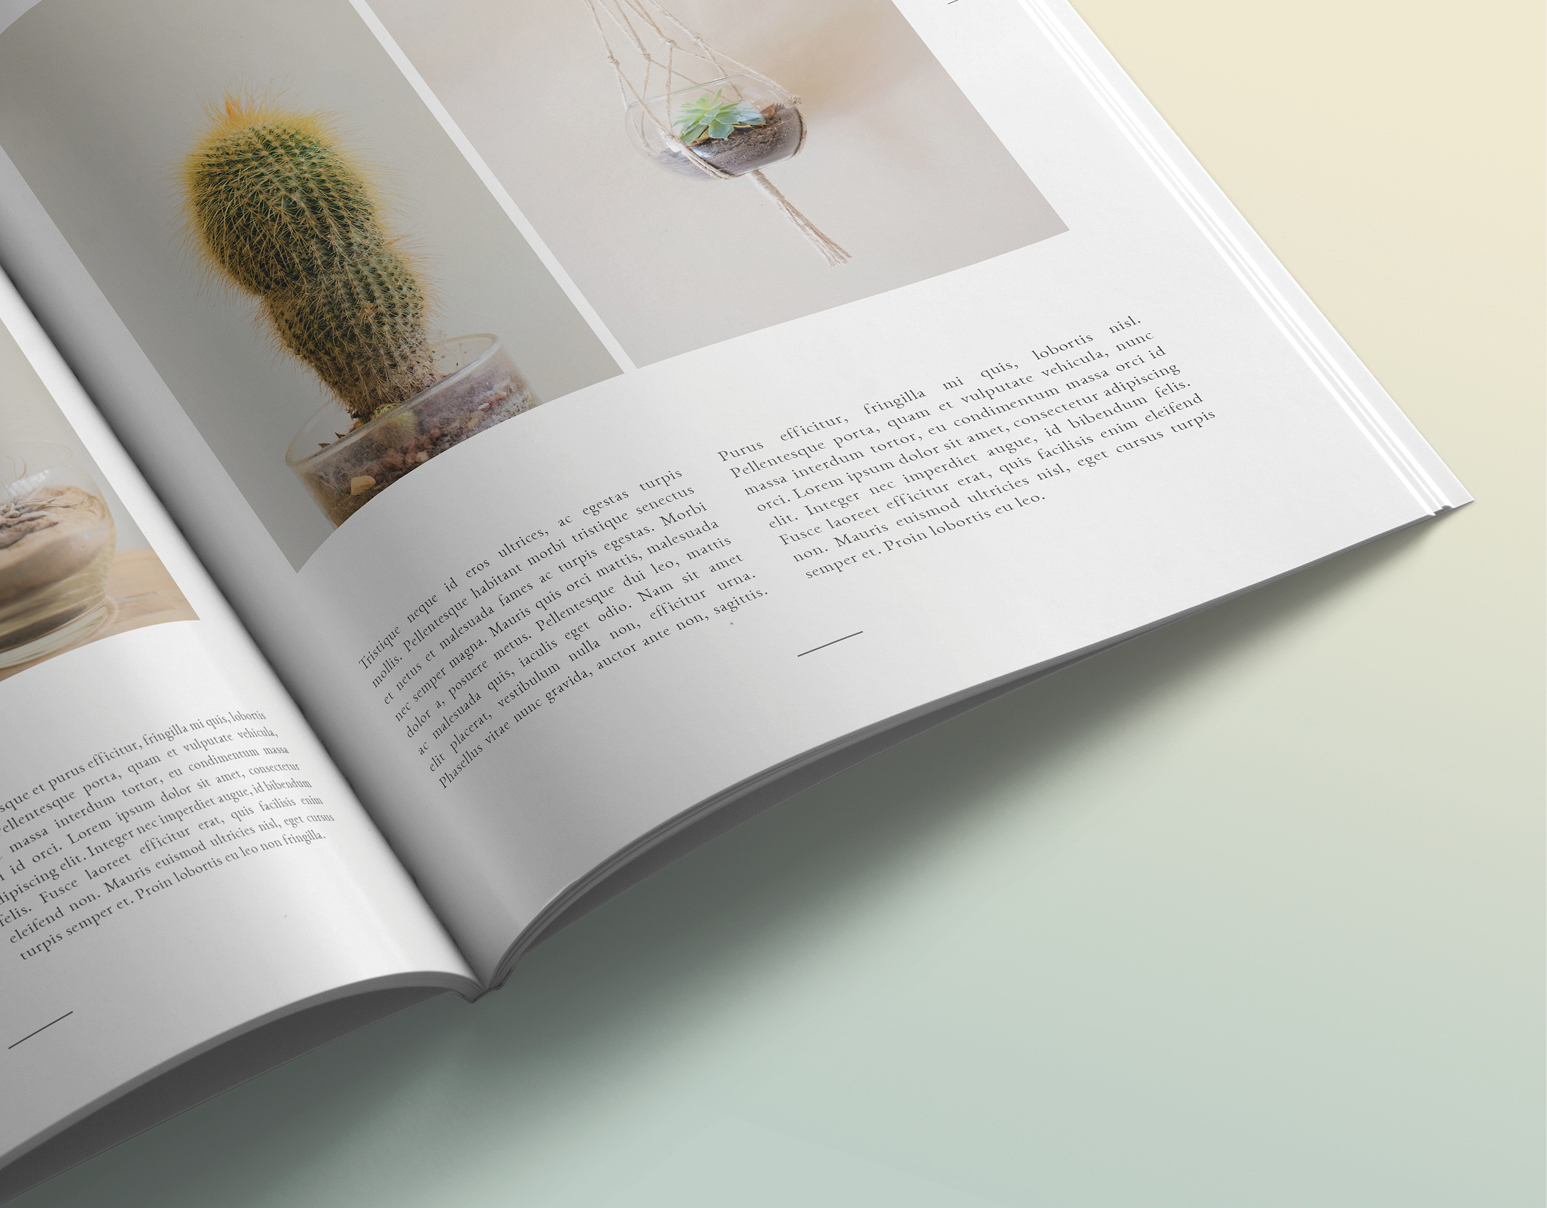
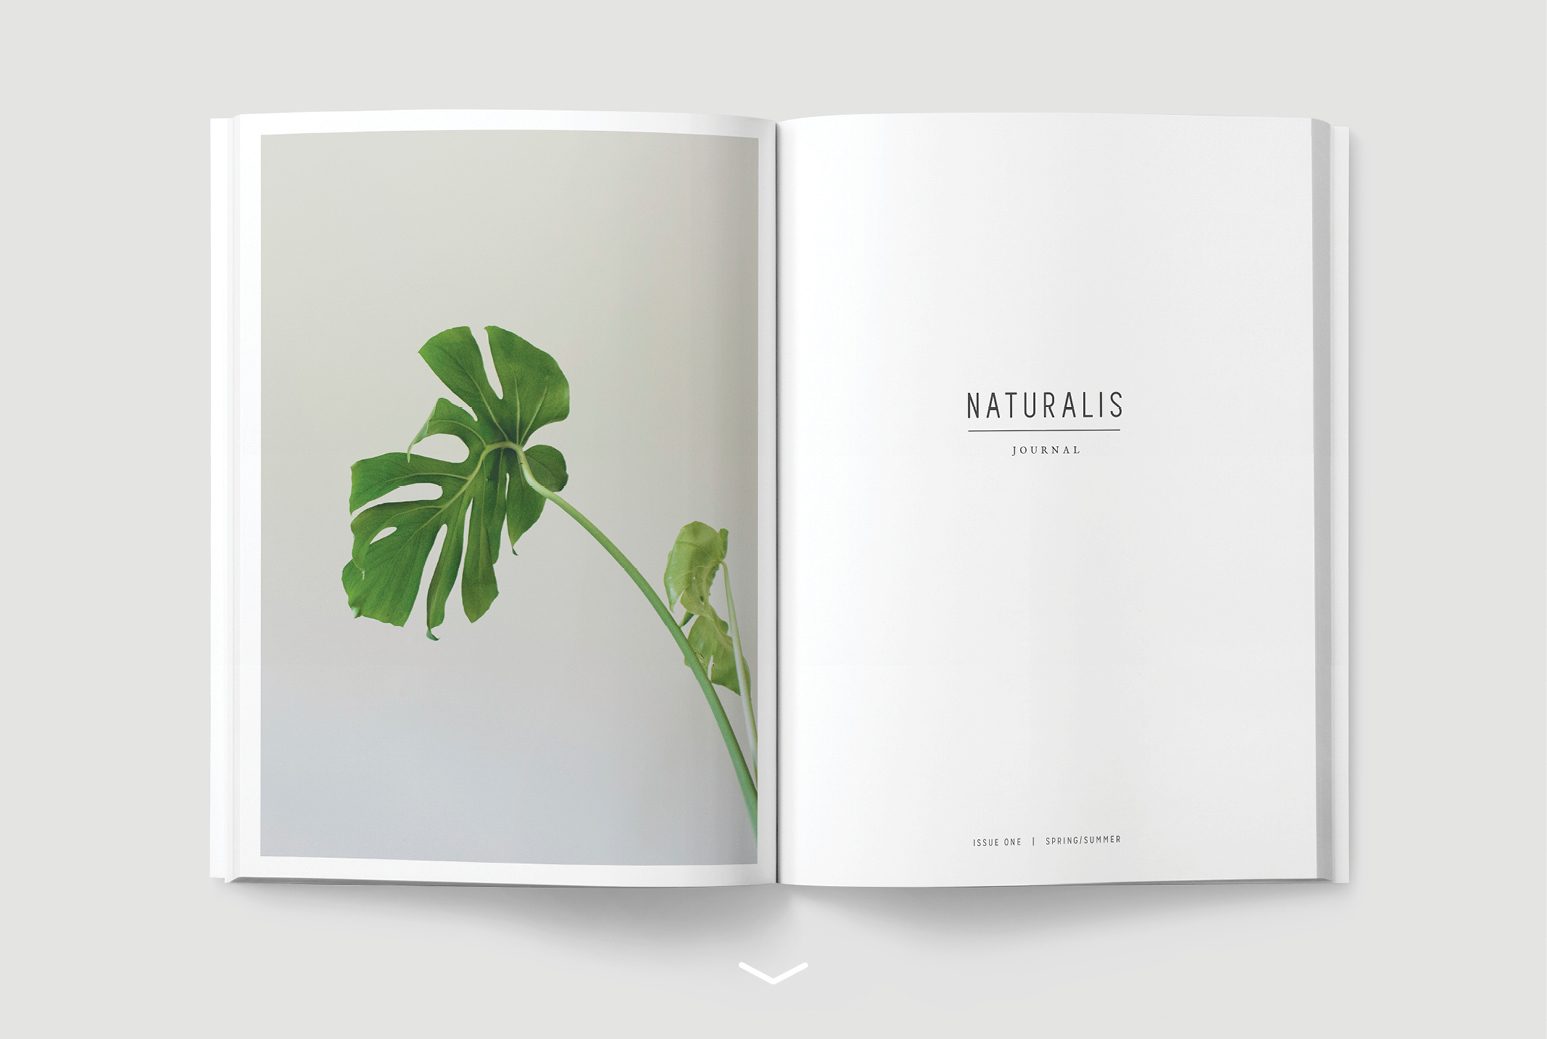
This is one thing I had to learn when I started designing. The negative space (which is pretty much the background) is so important in design. It allows the design to breath and not be cluttered. All the elements (text, images, graphics) will stand out, helping the eye to focus on what’s important–creating a hiearchy.

Magazine design by 46&2 // Visual Sorcery
3. Use hierarchy
There is nothing worse than seeing an ad campaign and everything is bold or in ALL CAPS! It gives the audience the impression that you’re shouting at them. Plus they don’t know where to look first. It’s a designer’s job to guide them along this visual journey.
Make sure you have a Heading (catch the eye with a Title), a Subheading (short explanation of the heading), then the body text and callouts (which are larger than the body text). I’ll do another blog that goes more into this topic soon. This is extremely important when you do any type of design that relays a message to an audience.
Your audience depends on you to tell them where to look. This leads me to my final point.

Magazine design by 46&2 // Visual Sorcery
4. Tell the eye where to go
This is something you can focus on when doing your concept sketch. As a designer, you’re the engineer and the design is the road you create. The audience, and their eyes, are the cars that drive on the road you’ve created. In the image below, the designer chose to use numbers in the design to direct the viewer in a particular direction.

Magazine design by 46&2 // Visual Sorcery
It is our job as graphic designers to create a visual guide for the audience to cruise fluidly through the important points on the road. We don’t want to visually create confusion that leads to mayhem.
When you design take into consideration what you want people to know and feel. Don’t design for beauty only, but make sure it is something that communicates a message and a feeling.
I would love to hear your thoughts!
If you have some great tips to share or want to say how this helped you, I would love for you to put it in the comments below. Thanks for reading!
Until next time!
Christyl
Follow Zeely Creative on Instagram
for visual fuel and design inspiration.


